Part 40: Part 8-1: Of Gods and Men
Of Gods and Men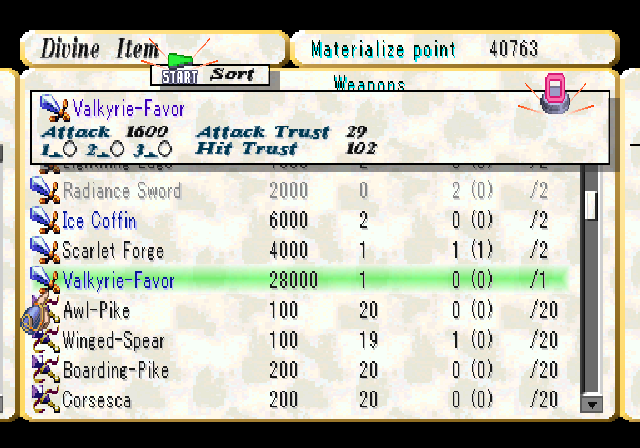
The shops are, of course, upgraded accordingly for the final chapter, and there's some good stuff in there. The Valkyrie Favor is a powerful sword that's also usable by Samurai and Warriors. However, Gram is still stronger.
Spearmen and Samurai get less powerful, but still considerably strong weapons with their noted bonuses (+20 CP/level up and CT reduction by 1). Jun/Suo can use either the Ama-no-Murakumo or the Valkyrie Favor/Gram, but there is a fairly big drop in power - Gram has 1250 more attack power than the Ama-no-Murakumo, for example.
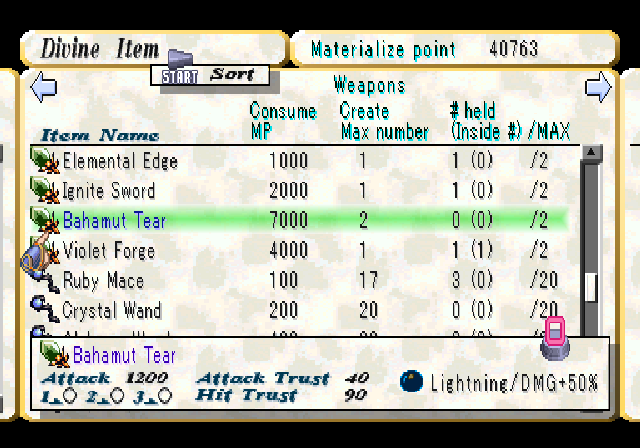
Arngrim finally gets a three-attack weapon again, the Bahamut Tear also adding the 30% to DME damage that the Violet Forge did. This also makes the Arectaris redundant.
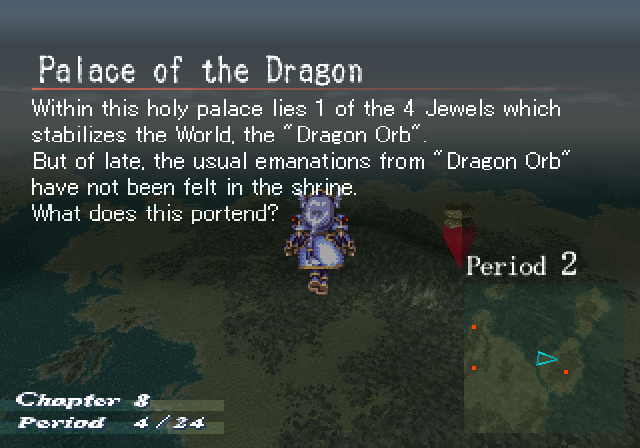
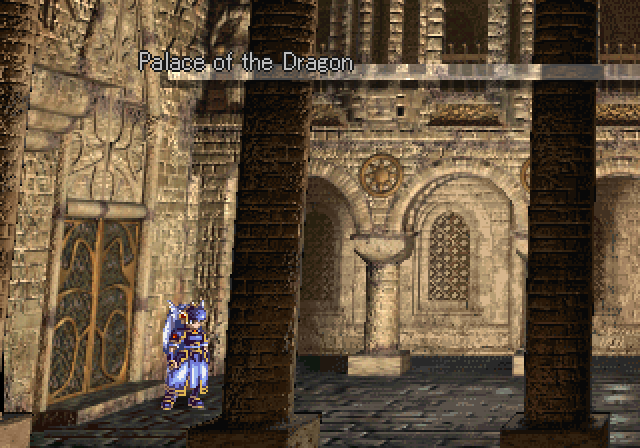
Time for the last dungeon in Normal Mode. Easy doesn't even get this - their last dungeon was the Forest of Spirits.
OST: Out of Chaos
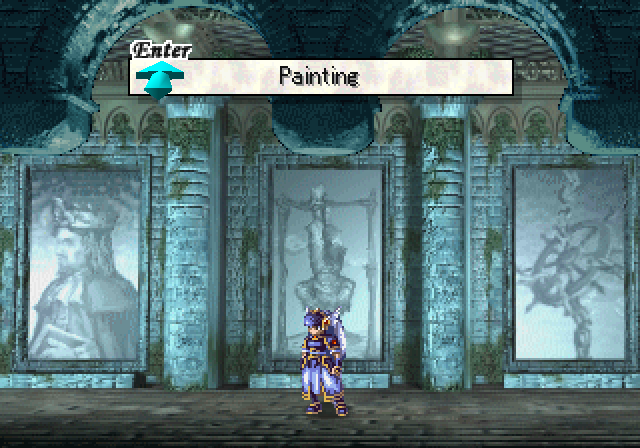
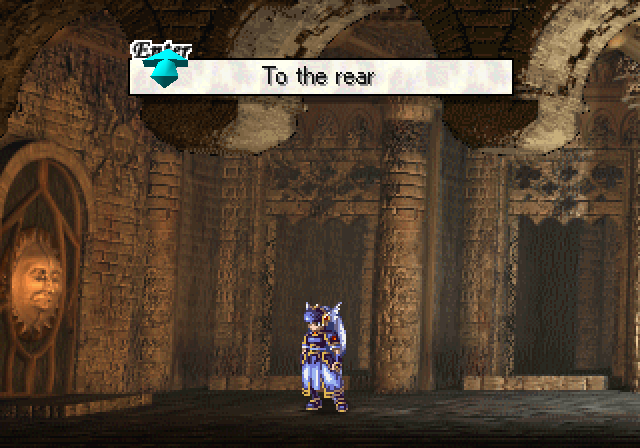
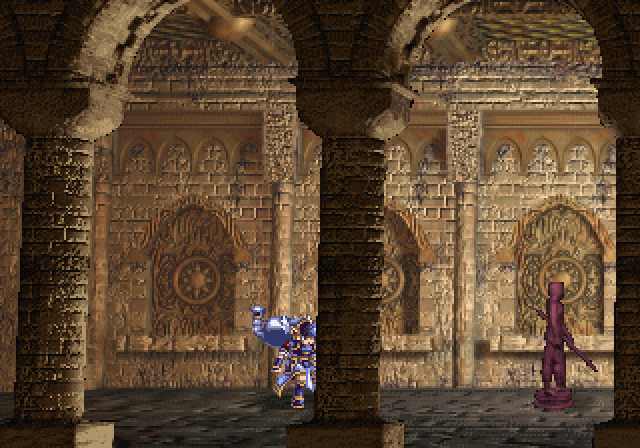
The Palace of the Dragon is a lot more likable once you actually know how to solve the puzzles within. If not, hope you like backtracking. We'll start by heading all the way to the right.
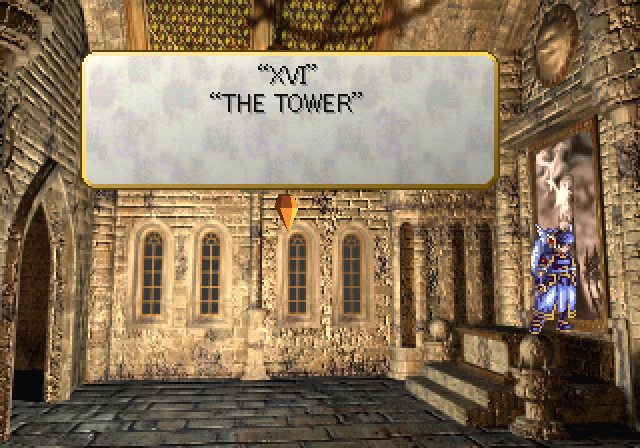
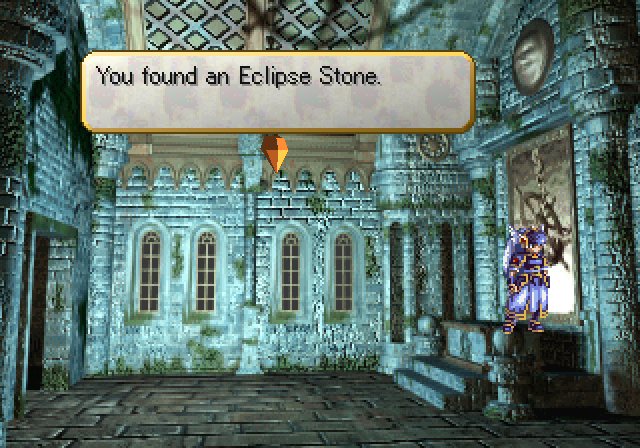
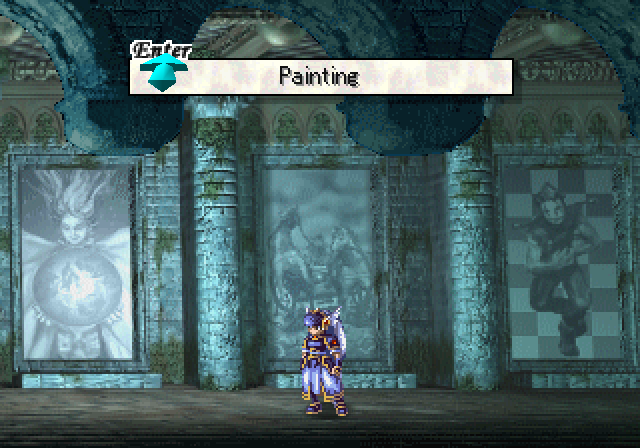
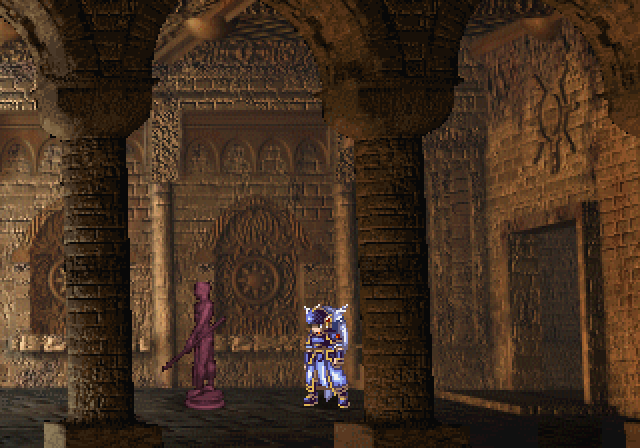
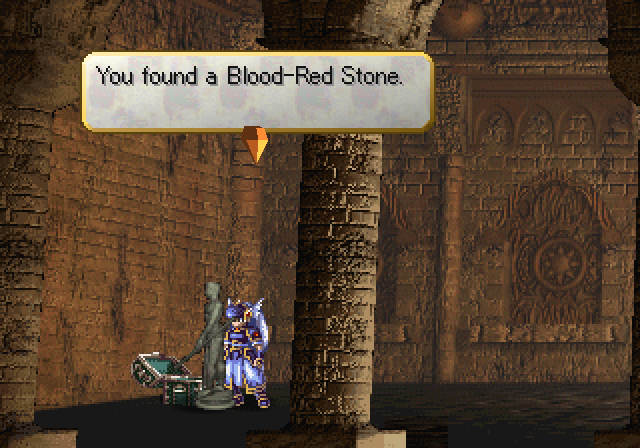
Paintings like these are scattered throughout the Palace. Each of them represents one of the Major Arcana in Tarot. This one is The Tower (XVI), which represents the fall of arrogance.
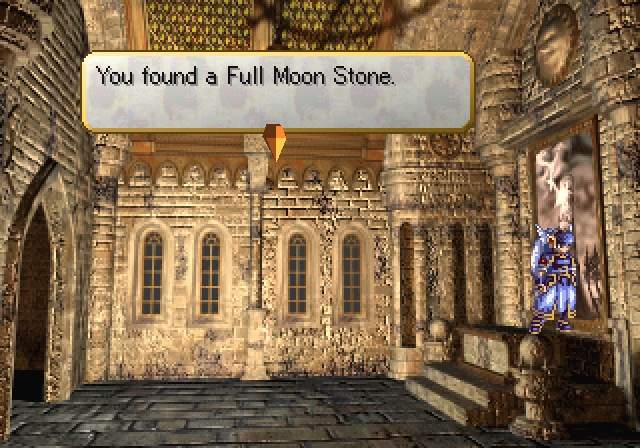
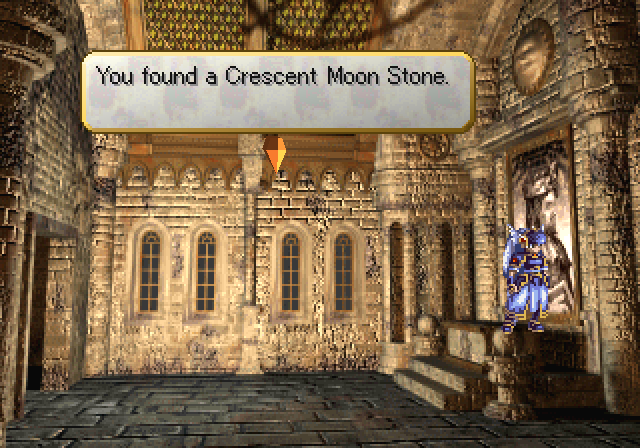
And we find a stone behind it.
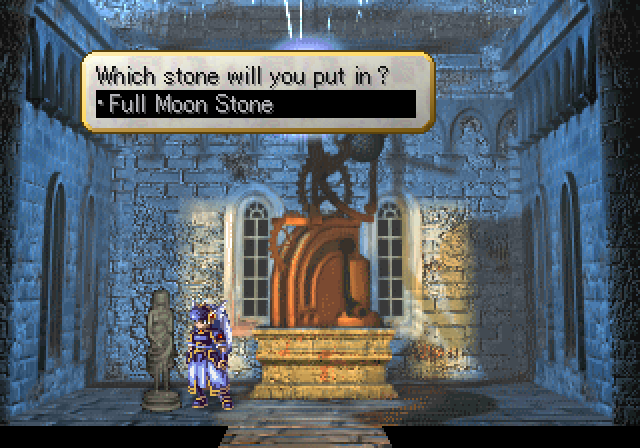
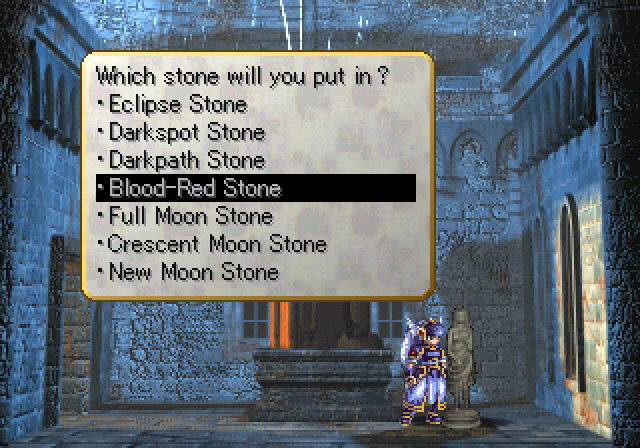
Said stone is used in this teleporter statue; we'll be back with new stones to warp to different parts of the dungeon.
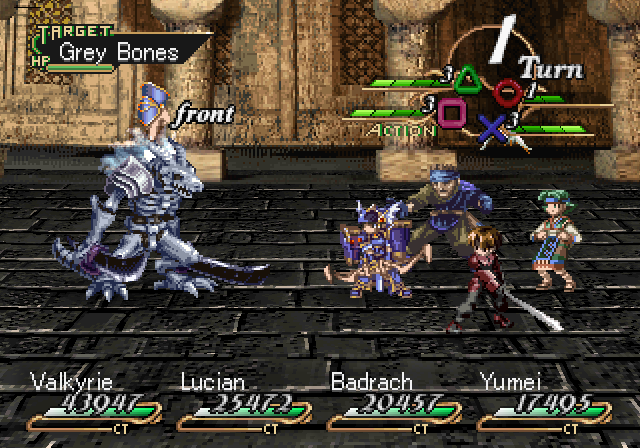
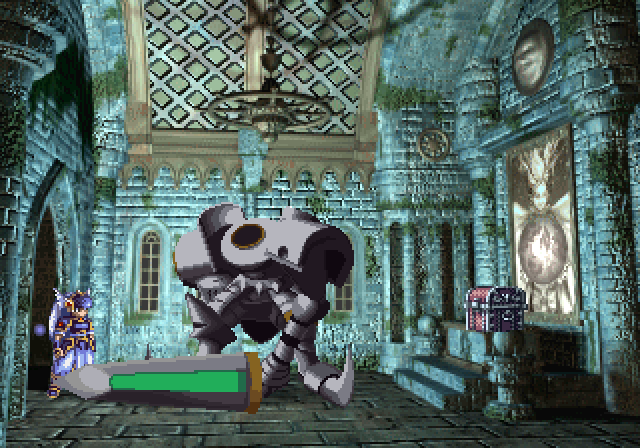
We also start running into enemies at this point, though none of them are as bad as Mandragoras especially now that we have new weapons. Grey Bones are big but all bone and no bite. They can Possess allies, however.
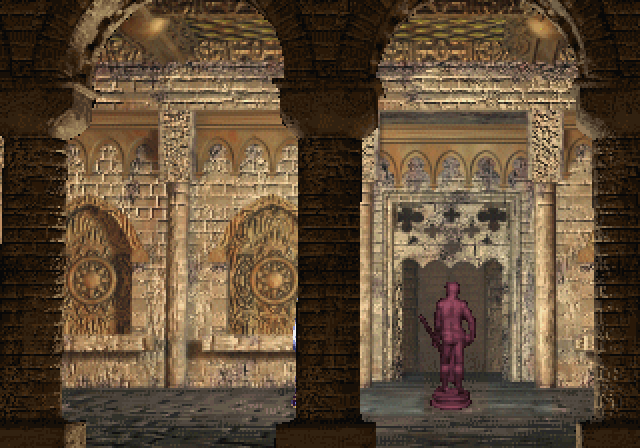
To the right is Not-Barbarossa, which guards a chest and a painting of The World (XX), which symbolizes the world's totality.

The Dullahan Lord shares many of Barbarossa's moves, including Calamity Blast (though he lacks Guard Reinforce). However, his RDM is crappy and despite having 40,000 health he goes down quite easily.
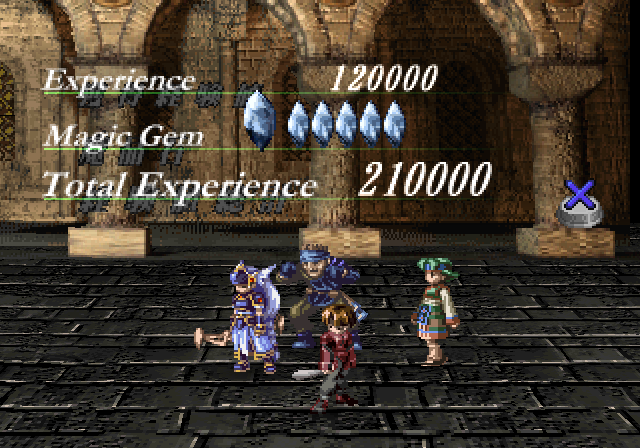
Still, nice experience.
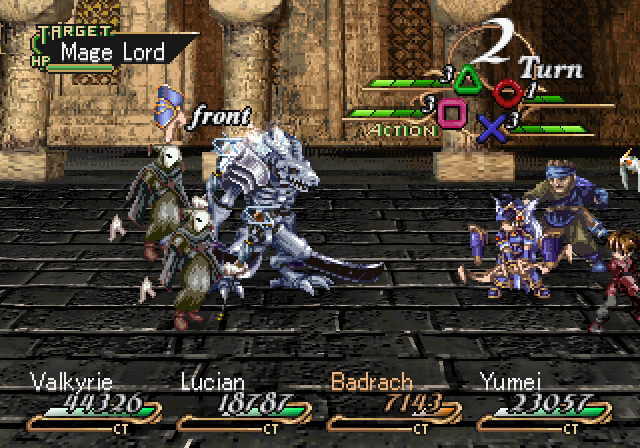
Mage Lords know Succession Magic and will cast Fire Lance, Icicle Edge and Heal. As expected, they're weak to Poison and take little damage from other elemental spells.

The Palace is actually really nice for getting some experience if you have a good crystal-grabber.
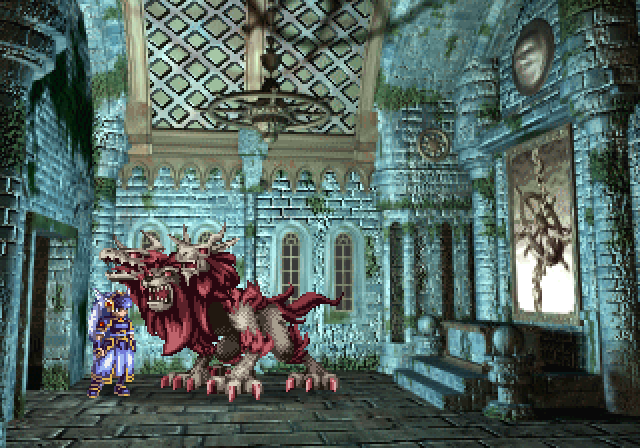
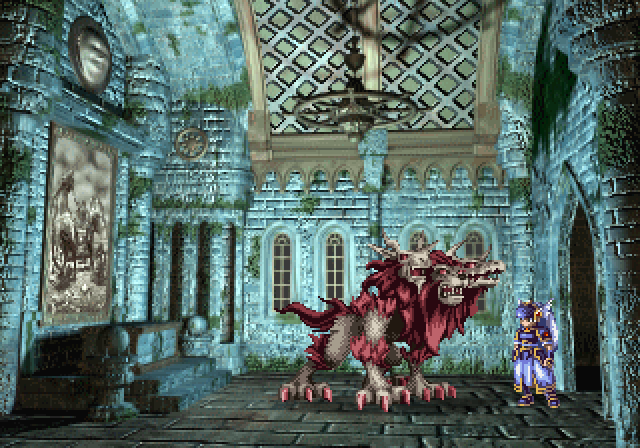
Oh hi there.
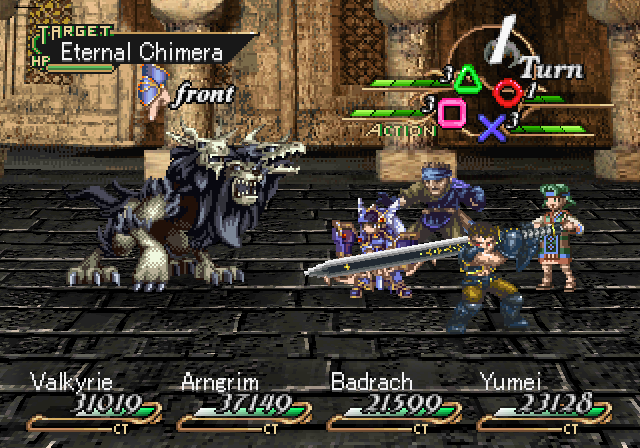
The Eternal Chimaera knows lots of status moves and elemental damage. When it gets low on health it'll start unleashing powerful Poison and Freeze attacks.
Not that you should let it get a chance to, as its defenses are nothing to boast about.
This painting is of the Wheel of Fortune (X), and as one might guess, deals with fate and opportunities. We also get another stone.
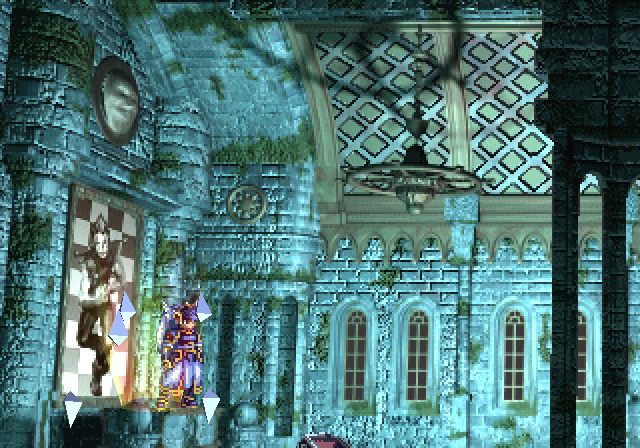
A doorway hidden behind a pushable stone leads us to a save point and a painting of The Fool (0), representing innocence, freedom and spontaneity.
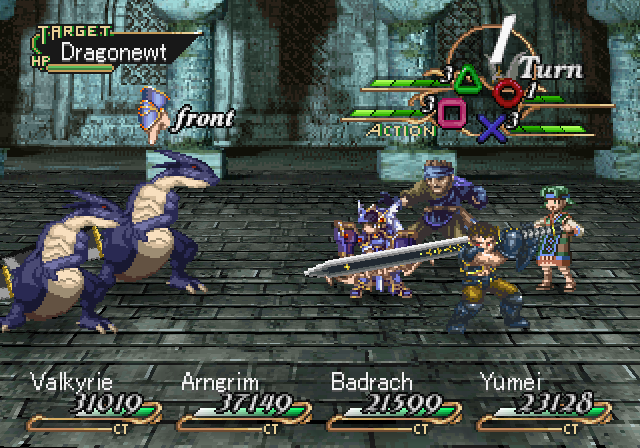
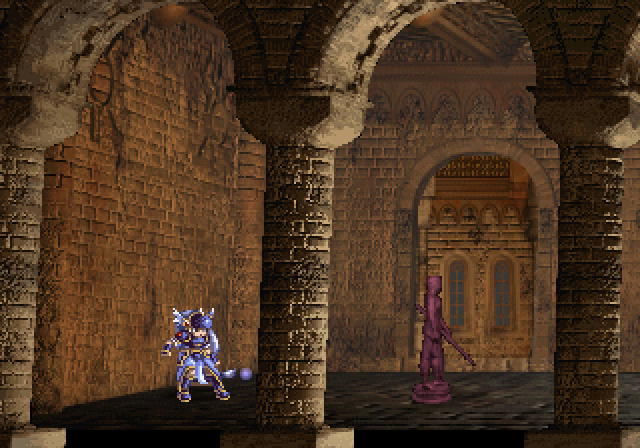
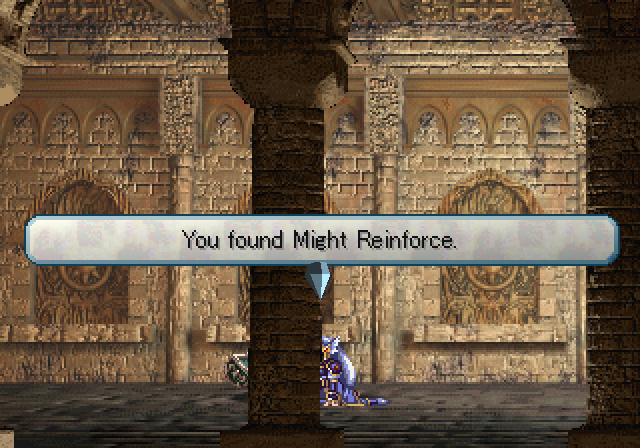
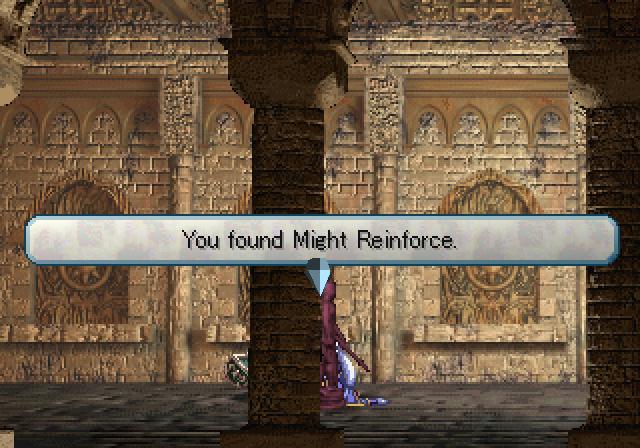
Using the Eclipse Stone brings us to a new portion of the Palace. Dragonewts know Might Reinforce and Primsatic Missile, and will always block, forcing you to use an unblockable and guard their crushes.
Eventually we come to a four statues in each of the cardinal directions which we can rotate. We have to rotate them so the top one faces left, the left faces right, the bottom faces up and the right faces down. This is based on a similar room earlier on, which we can't interact with - we just have to match the statues to the positions of the earlier ones.
Doing so unlocks the doorway to the right.
Painting here's The Emperor (IV), implying desire to control one's surroundings. We won't be using this one just yet.
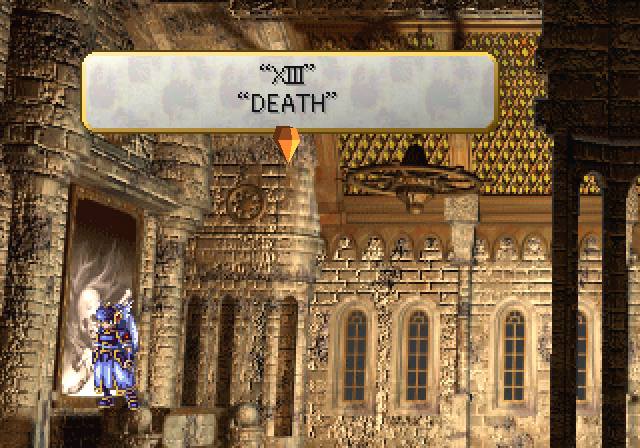
Ahead to the left is another painting yielding a Darkspot Stone. Death (XIII) is fairly self-explanatory, though it's not entirely bad - it can also suggest regeneration and the start of a new cycle.
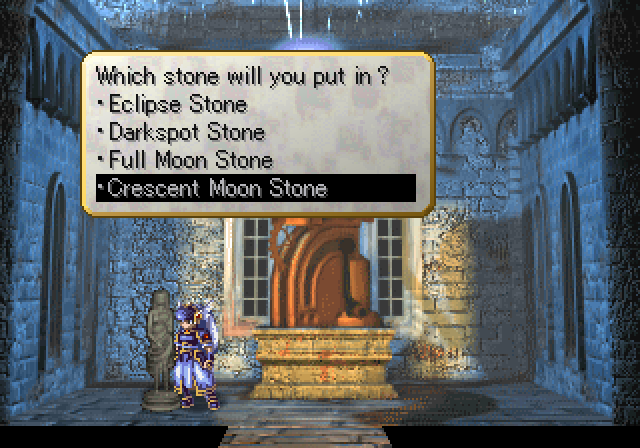
Back at the teleporter, we can use the Crescent Moon Stone to warp to a new part.
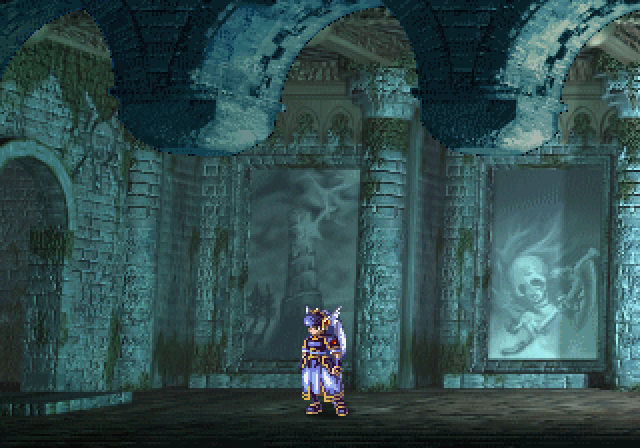
Along the way, we can pass by this hallway of paintings.
Another Eternal Chimaera guards the painting of the Chariot (VII), the symbol of victory and self-control. The painting also holds for us a Darkpath Stone.
Which we'll naturally use to get out of here.
Now for the gimmick puzzle. The door at the end of this hallway is locked, and there are eight rooms along the length of the hallway. Entering any one of them teleports us back to the centre of the hallway. Figuring out the right order of which rooms to enter unlocks the door.
In case you haven't figured it out yet, this room matches that of the previous painting hallway, each painting with one of the Arcana. Here they are again, from left to right:
The Tower (XVI)
Death (XIII)
The Emperor (IV)
The Hanged Man (XII)
The Wheel of Fortune (X)
The World (XX)
The Chariot (VII)
The Fool (0)

So sounds easy enough, right? Just enter the rooms in the order of the Arcana's position in Tarot. Well, almost. If you know a little about Tarot, or if like me, you've played too much Persona, you might know that The Fool is a special card - it doesn't actually have a specific number, and is placed as either the first or the last card, because of its representation of malleability and chaos.
With that in mind, here's the correct order:
-The Emperor (IV)
-The Chariot (VII)
-The Wheel of Fortune (X)
-The Hanged Man (XII)
-Death (XIII)
-The Tower (XVI)
-The World (XX)
-The Fool (0)
Or in simple terms, starting from the left, the 3rd, 7th, 5th, 4th, 2nd, 1st, 6th, then the 8th door. Of course, not that a 10-year-old playing the game for the first time before the dawn of the internet is likely to figure this out. Maybe the numbering pattern, sure, but the trick with The Fool? Unlikely. Welcome to old-school jRPG puzzles, kids!
In any case, the door unlocks.
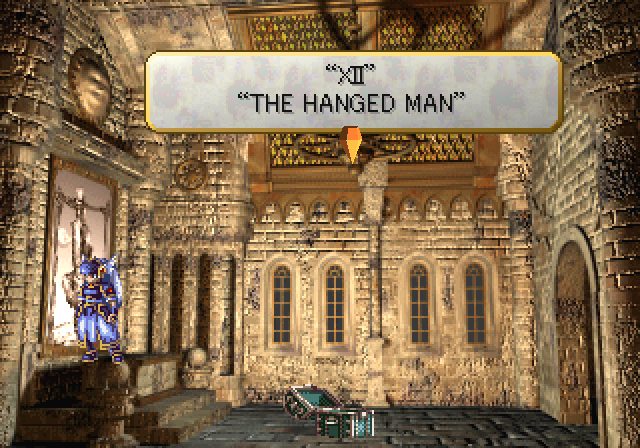
Just to mock us a bit, behind the painting puzzle is the painting of the Hanged Man (XII), symbolizing self-sacrifice for the sake of knowledge. At least we get our next stone for our troubles.

Really, the dungeon could be a lot worse - at least the game doesn't have random encounters and provides dungeon maps, so if you need to backtrack at least it'll be encounter-free.
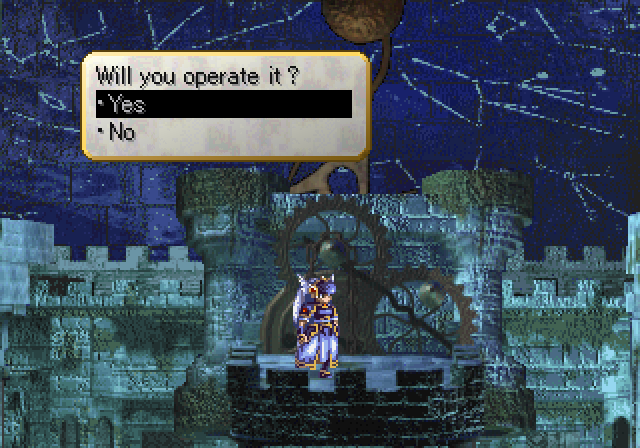
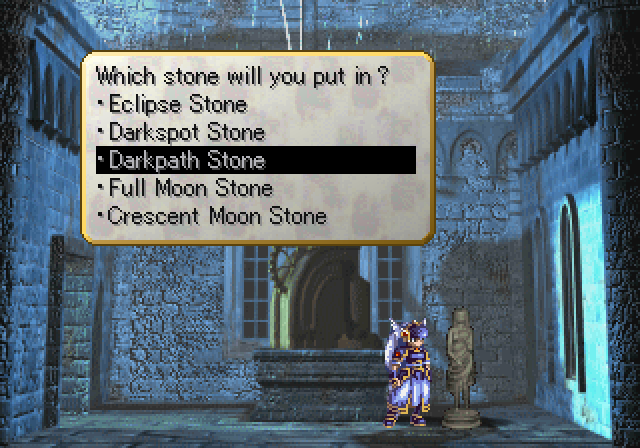
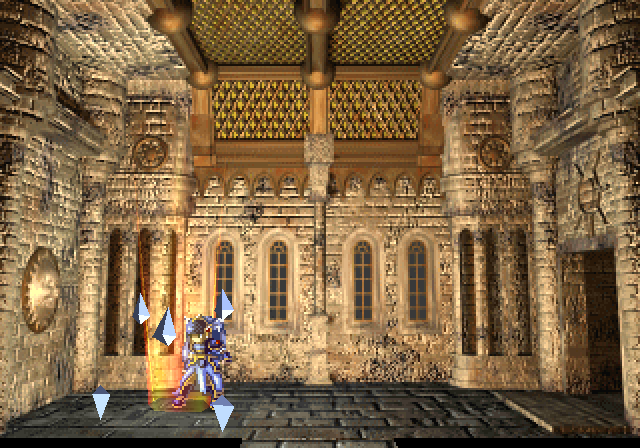
Just left of our newest area is a machine. Of course we're going to turn it!
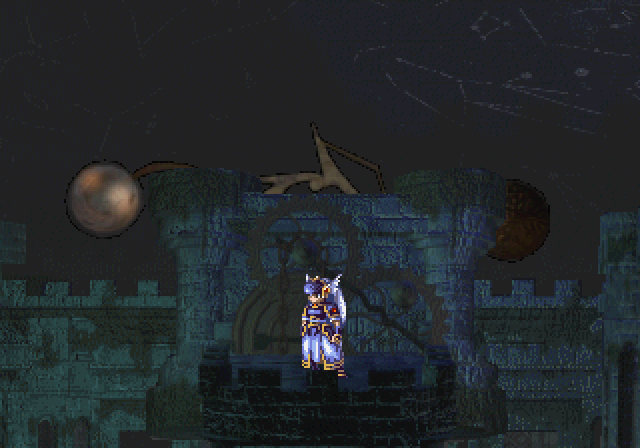
And the mechanism rotates. Hmm.
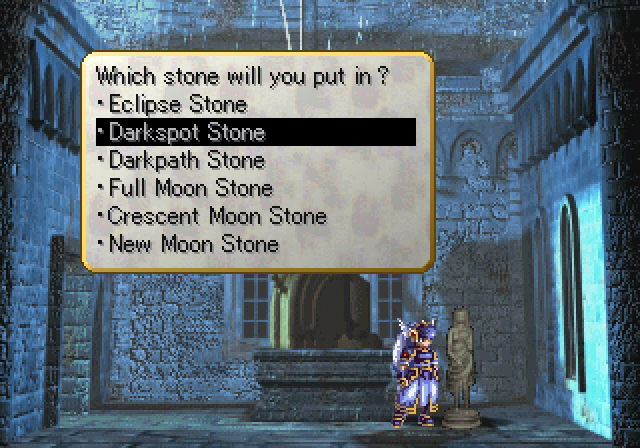
The Darkspot Stone is the only one we haven't used yet.

The mechanism here has turned as well.

The room also darkens.
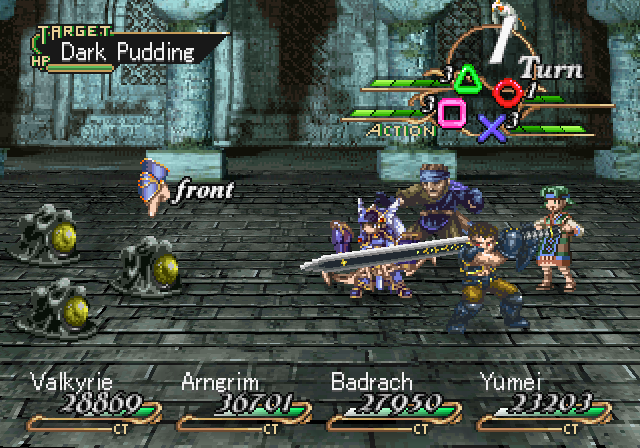
Dark Puddings are complete non-mentions at this point.
There's a Save Point here. You might need it! This next part is pretty dumb.
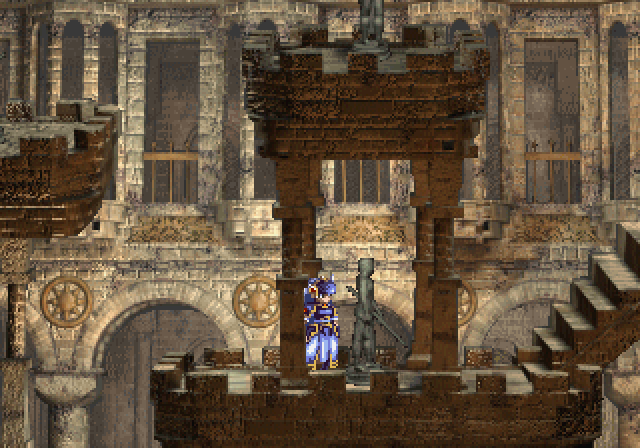
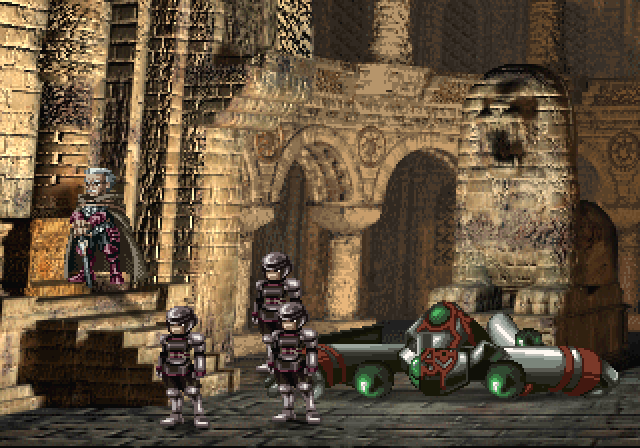
Meet these guys, the Guardian statues. You might remember something similar way back in the Oddrock Caves, where if they touch you you get stunned for a while and take some damage. Here, if they touch you, they teleport you to a random room in the dungeon, and you'll have to find your way back to a teleporter and use the Darkspot Stone to get back here.
And no, there's no warning or indication of this anywhere, so it's a fun little surprise the first time you encounter them.
Just like the blocks in the Arkdain Ruins, they'll speed up if you're in their line of sight, so you'll have to be quick. In this first part, we'll have to follow behind the statue and jump over it when it turns around.
It'll then open up a room in the middle we can go through safely. If we wait too long, the room'll disappear and we'll have to leave and come back and do the Guardian dodging game again.
This next part has a Guardian as well just to the right. If we go to the right there's some treasure (a Dragon Slayer, Lightning Bolt, and a Quartz Gem), but if one doesn't want to play his game we can just duck to the left hallway to progress.
This next hallway is again kind of dumb. We've got a Guardian patrolling the length of the hallway, and we need to wait for it to sleep after patrolling enough, which it'll do after travelling back and forth about four or so times. The game intends to make us wait by having us jump over him each time, but luckily we have a trick to abuse.
If we stay on the treasure opening textbox, the Guardian will zoom by us each time, but he can't actually touch us. So we just wait til he stops appearing, then collect our treasure and move on.
Inspecting the sleeping statue gets us our final stone.
Naturally, it leads us to a save point, where we can get ready for our boss of the day.
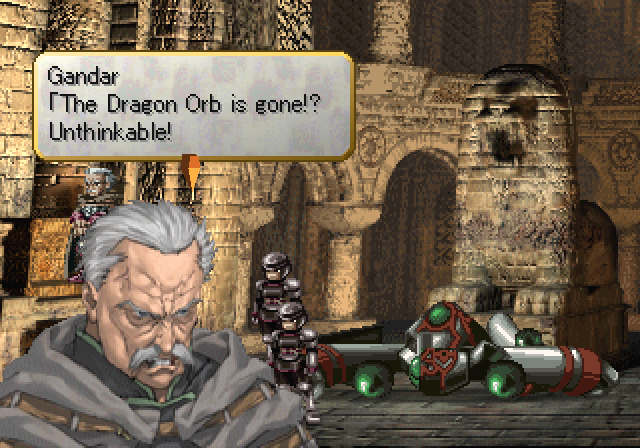
 Who could have possibly gotten to it before me?
 What is this overwhelming force!? Such power is near inconceivable! Someone... or something... overcame a Guardian with this much power and stole the Orb?! But who... and how?!
 Well, well.
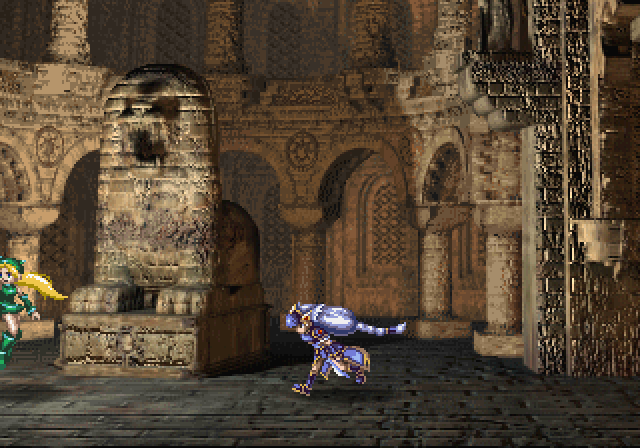
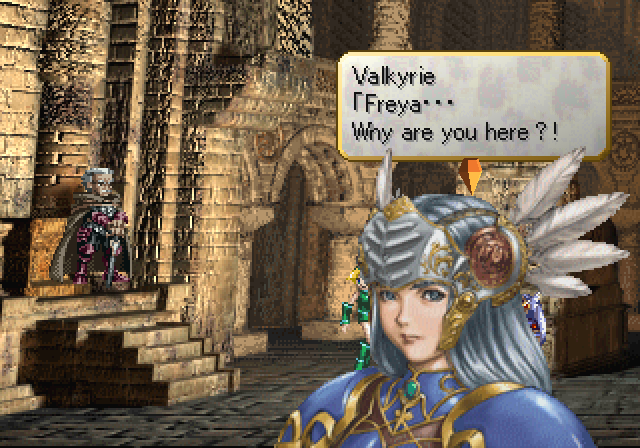
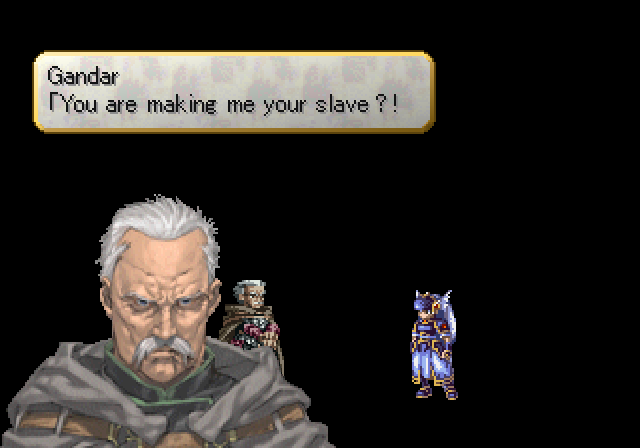
 I am under orders from Lord Odin. This human has set foot within realms never intended for his kind. Therefore...
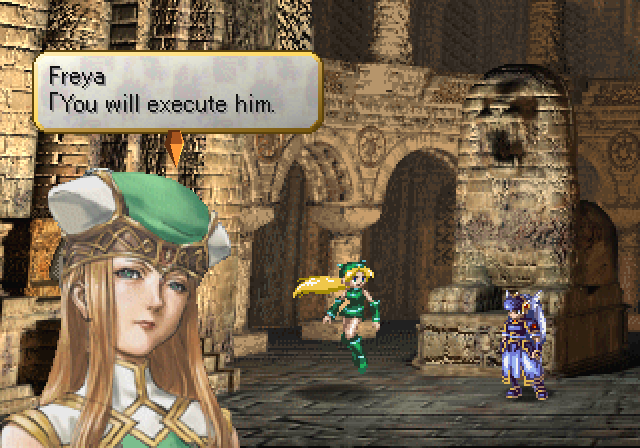
 ... However... make sure you do not destroy his soul. That, too, is an order from Lord Odin. D... Damn it all!
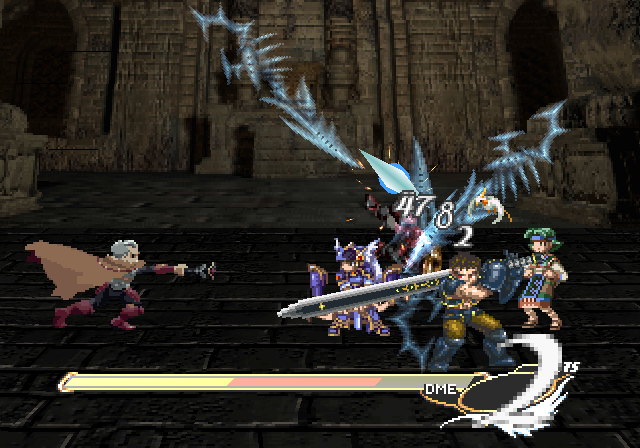
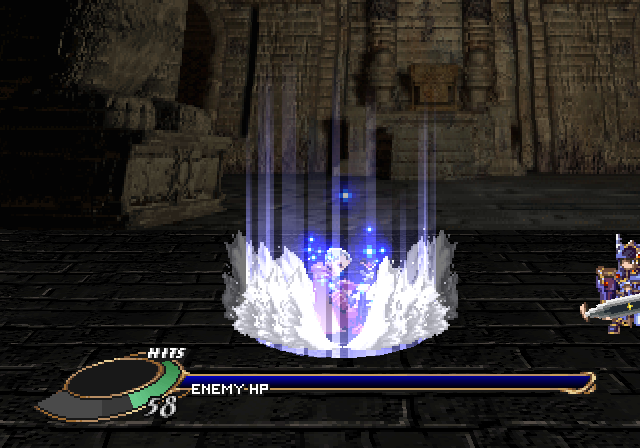
And so our boss fight is against Gandar. Like Barbarossa, if we don't kill him in two rounds he'll start casting powerful Great Magic, including Celestial Star.
The difference is that Gandar is very, very squishy.
We don't even get any experience for the fight.
---
Listen: Gandar
You have another option, though I doubt you would find Niflheim very comfortable. D... Damn you! So what shall it be? My master wishes to use your power. It would be regrettable to surrender you to Hel, the Dark Queen.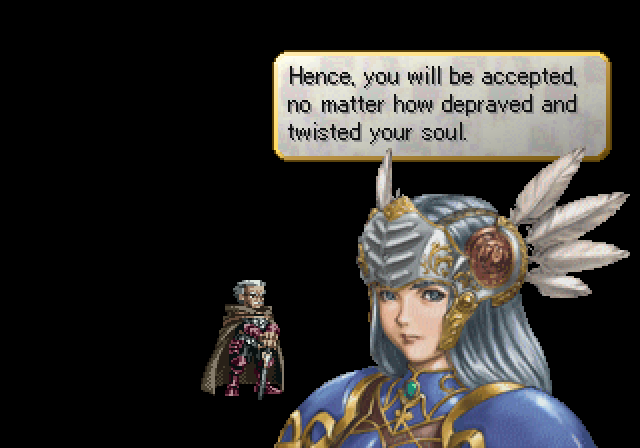
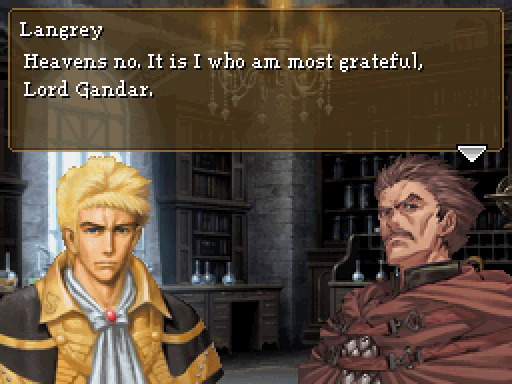
 Heh! Ha ha ha ha ha! You drive a hard bargian, Battle-Maiden... Very well. But know you that I am very different than those other trained dogs.
Gandar is voiced by Ed Paul, also the voice of Belenus and Suo.
---
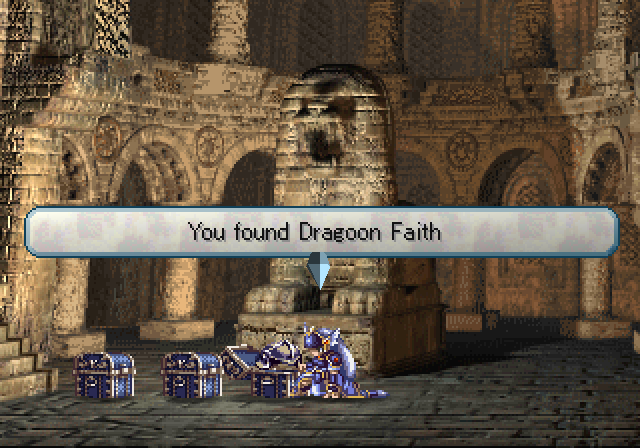
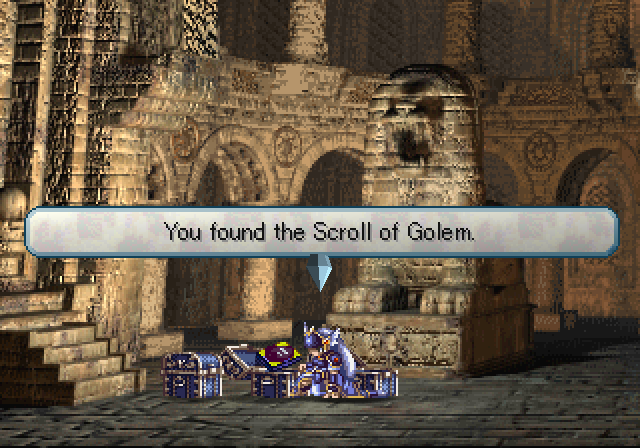
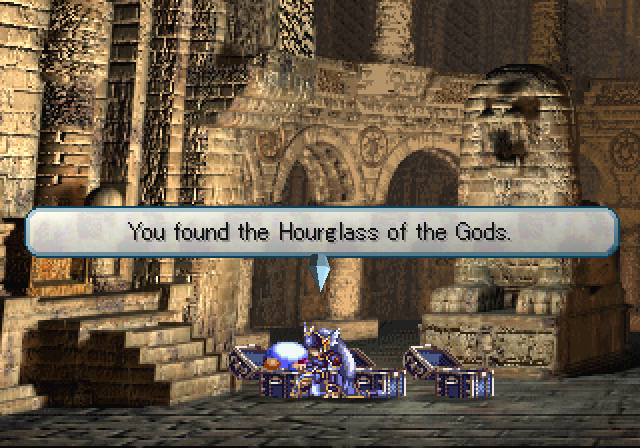
Let's talk treasure. The Dragoon Faith is the best helmet in the game and can be worn by anyone but Sorcerers. The Scroll of Golem is useless - its only use is to be transmuted for a nice 10,000 MP. The Hourglass of the Gods gives us 5 free periods - nice, but a bit too late.
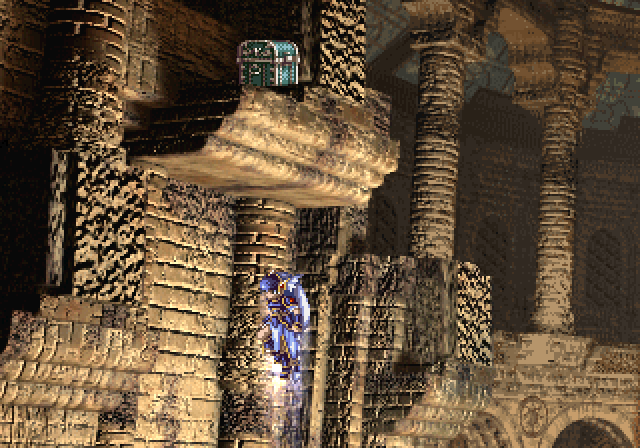
There's one last thing to be done in the Palace - this chest.
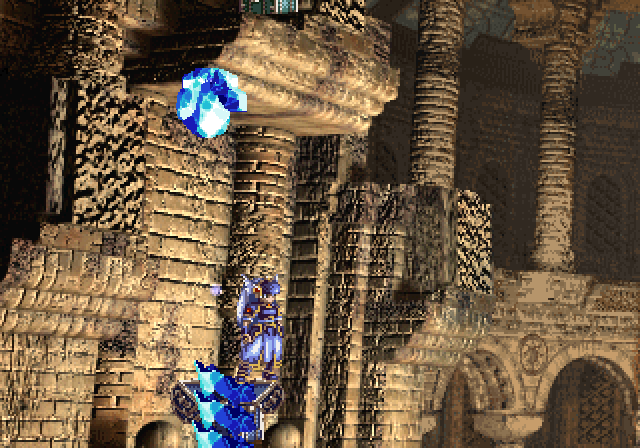
There are a few ways on how to do it, but it's annoying enough - you have to shoot a crystal onto the bottom of the ledge twice, then shoot it again to explode into dust. You then have to quickly jump onto the dust using a prepared crystal on the side wall or building a stack using the treasure chests and crystal shards, then jump onto the ledge.
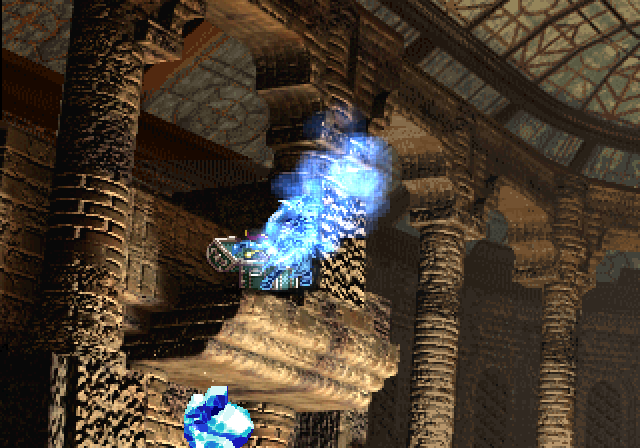
Luckily, the chest is trapped with a freezing gas trap rather than something infuriating like an explosion trap.
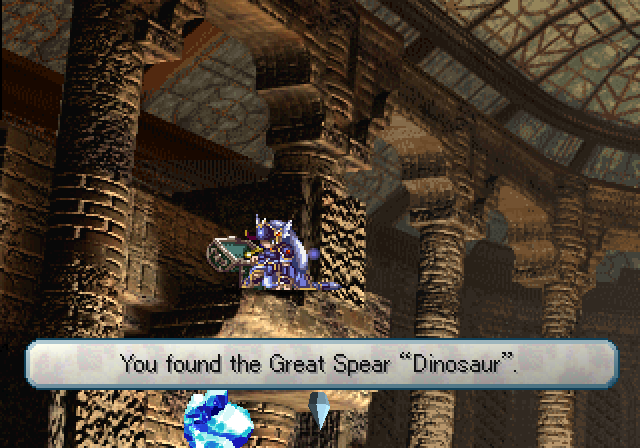
The treasure is very much worth it, however.

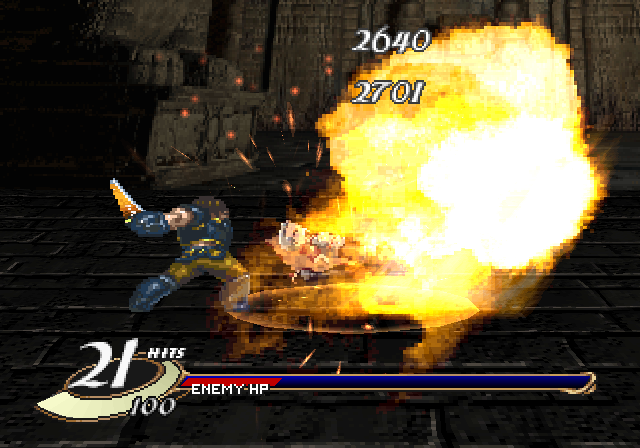
Dinosaur instantly polevaults Lawfer and Aelia back to among the top damage dealers, with a jaw-dropping 3000 ATK. It does lock them into one attack, but it's their best one anyway (Triple Thrust for Lawfer and Spinning Edge for Aelia). In fact, with Aelia's wonky hitboxes this is really a good thing for her.
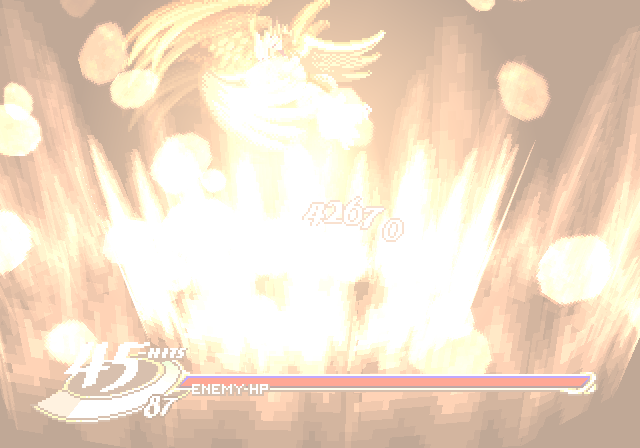
Aelia showing off some of the potential gigantic damage. I mean, Lawfer will do more damage likely, but gigantic numbers, man.
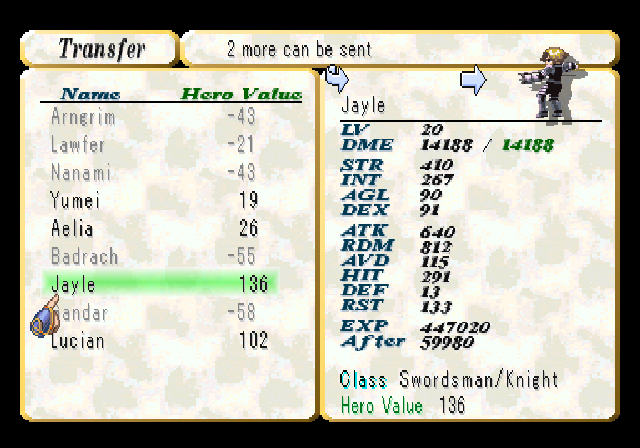
And Jayle got an overwhelming vote up to Asgard.
Oh, we got a new Einherjar, didn't we?
Age: 67
Class: Sorcerer/Officer
Race: Human
Gender: Male
Homeland: Villnore
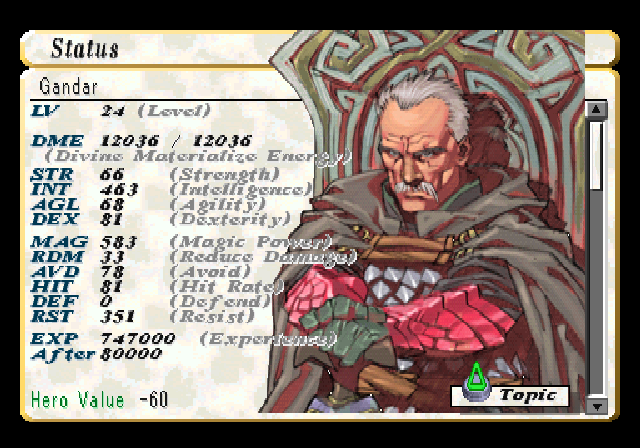
A sorcerer in the employ of the Villnore Army. Crafty and ambitious, Gandar's path to power is lined with corpses. He's a classic villain in every sense, and his power is unrivaled. He prides himself in never having lost a battle.
Gandar is a male Sorcerer. This means that he's also the only one that can wear the Rust-Red Circlet. He's got an okay starting set of spells, including Sap Guard and Poison Blow, but he really comes too late.
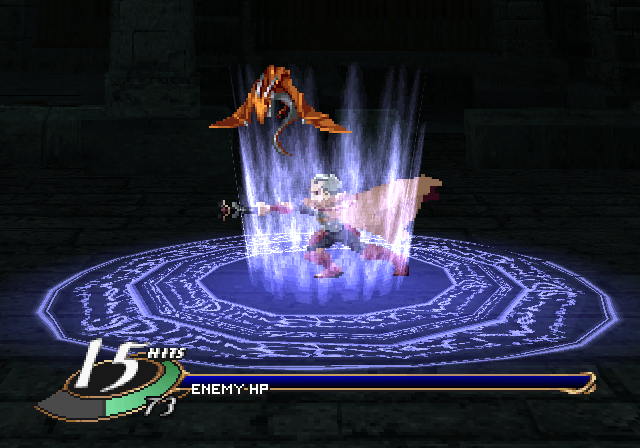
Gandar Soul Crush
On the other hand, he gets a dragon for Wait Reaction, which is cool no matter what way you slice it.
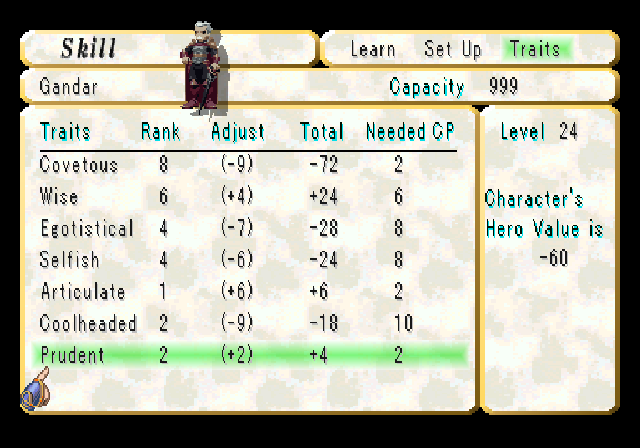
Odin will reject Gandar for transfer, so here are his traits.
Now, for those who've played CotP, you might recognize him:
Gandar appeared in CotP, as a much younger self. This gives us some clues as to the timeline: given Gandar's aliveness in both games, CotP probably takes place 30-50 years prior, considering Gandar's 67 here. There are a few things that could be called into question once we know more, but it's a good estimate.
Of course, this means that someone out there in Midgard Wylfred and the rest might be alive (or at least as alive as they can get til Ragnarok). Though Gwendal and anyone older might be quite unlikely, considering their age in CotP.
That actually brings another possible identity: the King of Artolia. At the end of CotP, either Kristoff or the unseen Joshua ends up as king - this might make Jelanda their daughter or grandaughter. Give the King's dark brown hair, it's more likely to be Joshua (since Kristoff's hair was closer to light brown, though anything can change). It's not definite that Jelanda's directly related to either one - it wasn't unheard of for kings to get deposed back then.

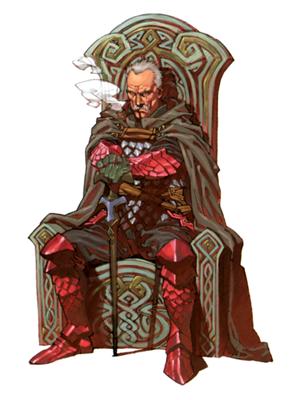
Gandar character artwork.